How to tape a stick / Goalie
How to tape a goalie stick.
A goalie stick takes more shots than any other piece of gear, and it is taped in four places. The blade and the lower paddle take the pucks. The top of the paddle is where your blocker hand holds the stick, so it gets a grip of its own with a small stop for your fingers. And the end of the shaft gets a big knob, so you can scoop the stick off the ice and it will not slide out of your glove.
- Time
- About 20 minutes
- You need
- One to two rolls of white cloth hockey tape (2.5 cm or 3.8 cm), Stick wax (optional), Grip tape for the blocker grip (optional)
- Tools
- Scissors or a utility knife, A clean, dry cloth
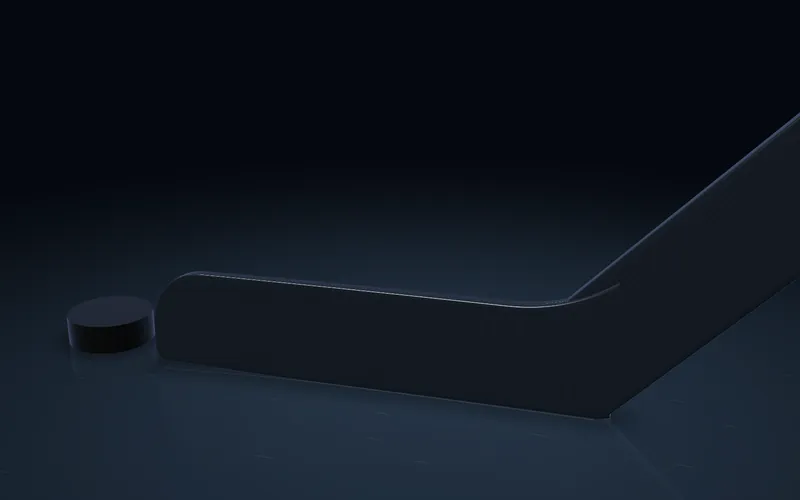
Blade · Step 1 of 12
Drag the stick to turn it 360°.
How to tape a goalie stick, step by step
-
Blade
Step 1: Strip and clean the stick
Peel the old tape off the blade, the paddle and the handle. Clean off the adhesive and dry the stick, so the new tape sticks flat with no lumps under it.
-
Blade
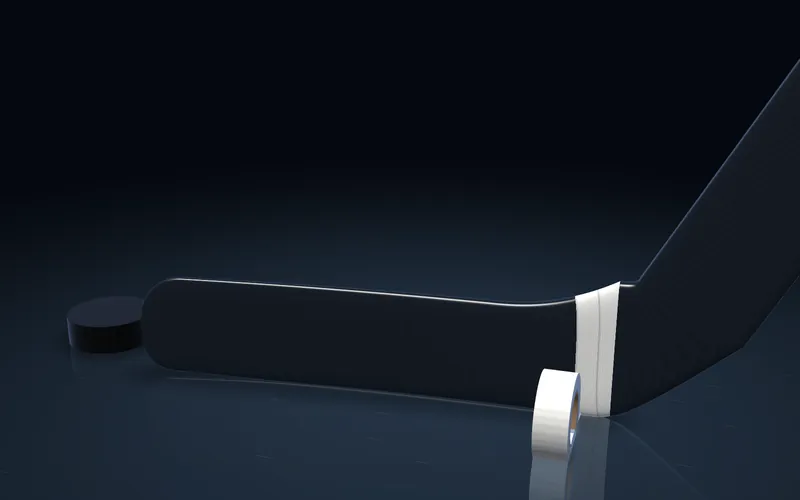
Step 2: Anchor at the heel
Start where the blade meets the paddle. Lay the first pass straight around to lock the end down.
-
Blade
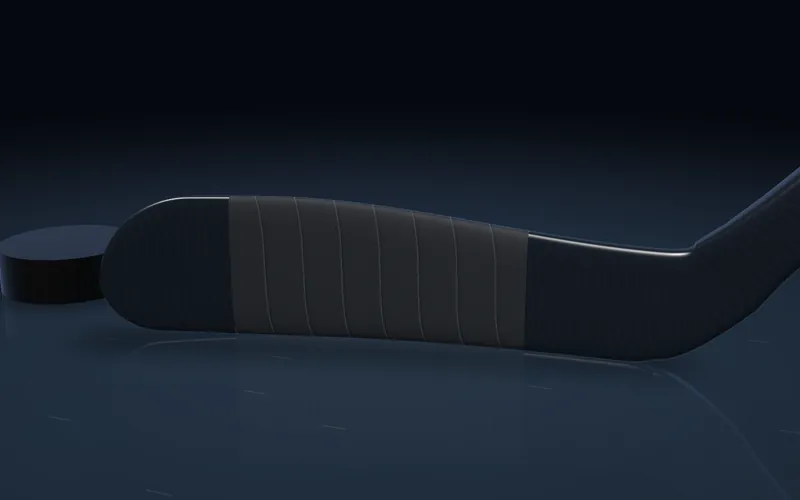
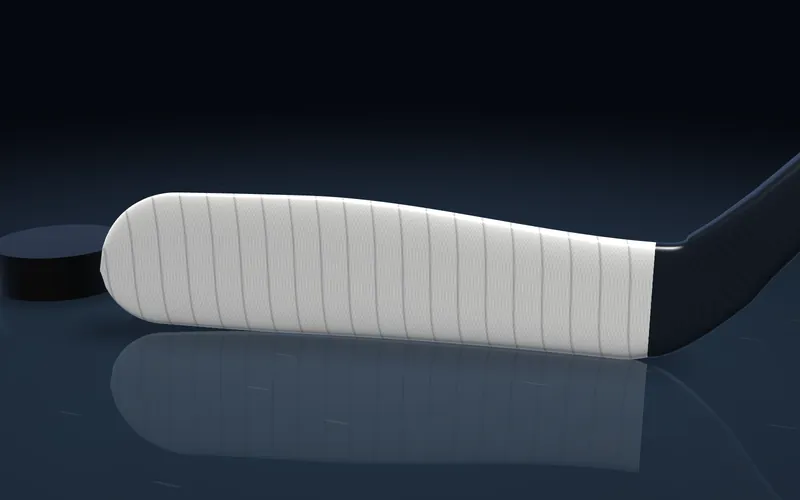
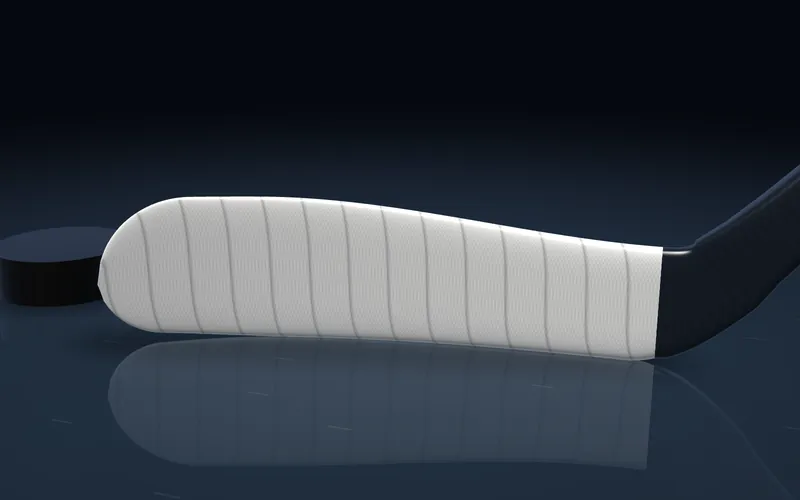
Step 3: Wrap the blade to the toe
Spiral toward the toe, overlapping each pass by about a third. A goalie blade is longer and taller than a player's, so expect to use a good part of the roll.
Tip: Wider 3.8 cm tape covers a goalie blade in fewer passes.

-
Blade
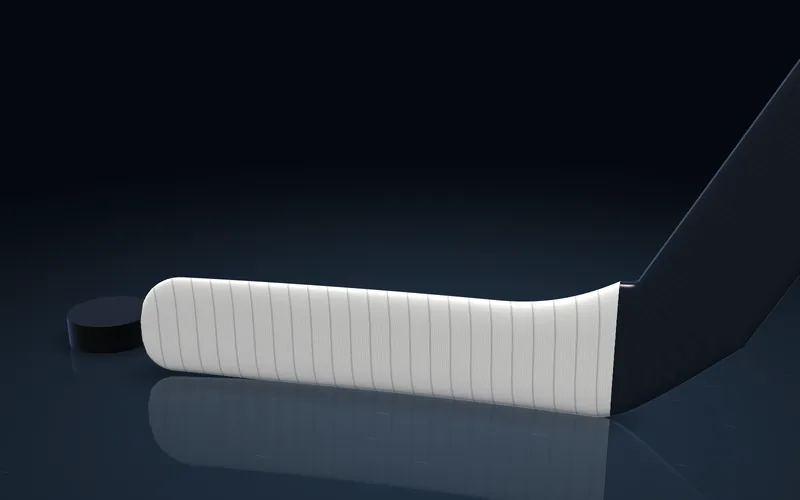
Step 4: Finish and trim the blade
Run the tape past the toe, tear it, then trim the bottom edge and the toe clean. Press all the edges down.
-
Paddle
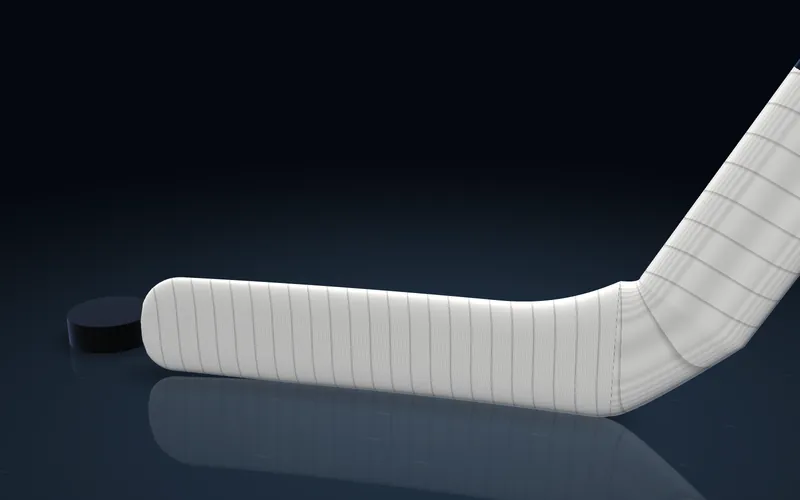
Step 5: Tape the heel and lower paddle
Start a fresh run at the heel and wrap up the paddle for about 20 cm. This is where low shots, rebounds and the ice wear a goalie stick down. The tape stops chips and deadens rebounds off the paddle.
Tip: Many goalies match their tape colour to their pads and blocker.
-
Paddle
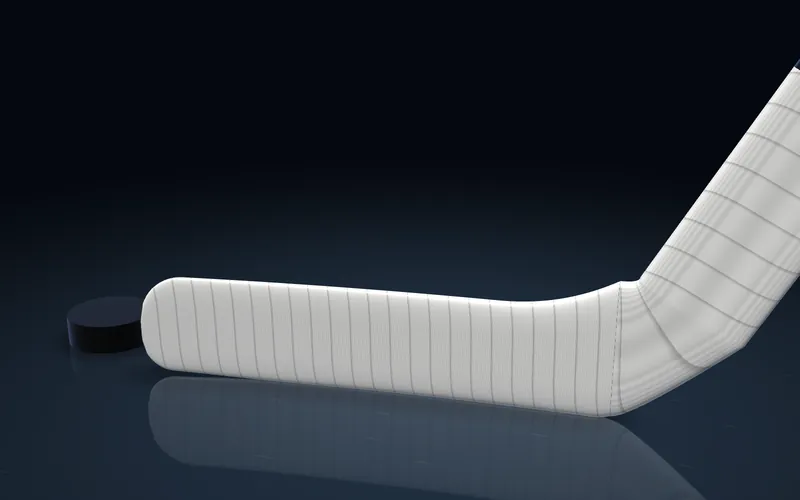
Step 6: Wax the blade and paddle
Rub stick wax over the taped blade and paddle, then buff it in with your hand. It keeps the tape dry and helps the puck settle when you play it.
-
Blocker grip
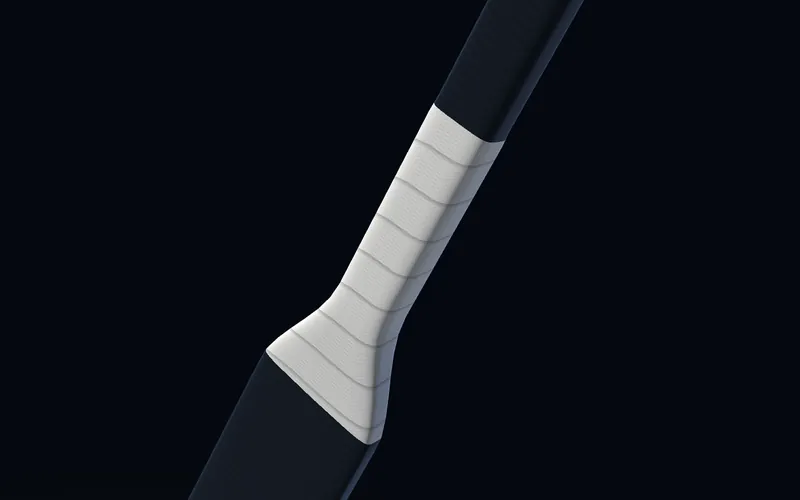
Step 7: Wrap the blocker grip
Your blocker hand holds the stick where the paddle narrows into the shaft. Start just over the top of the paddle and wrap about 15 cm up the shaft, overlapping each pass by half, so your glove has something to grab.
Tip: Some goalies use grip tape here instead of cloth. Try both in practice.
-
Blocker grip
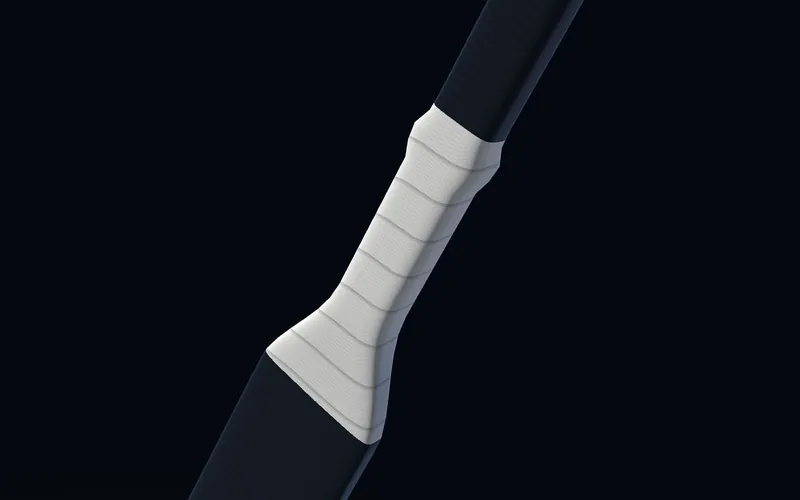
Step 8: Build a finger stop
At the top of the grip, wrap five to eight times over the same spot to build a small ridge. It gives your blocker fingers a stop, so the stick does not slide through your glove when you poke-check or play the puck.
-
Knob
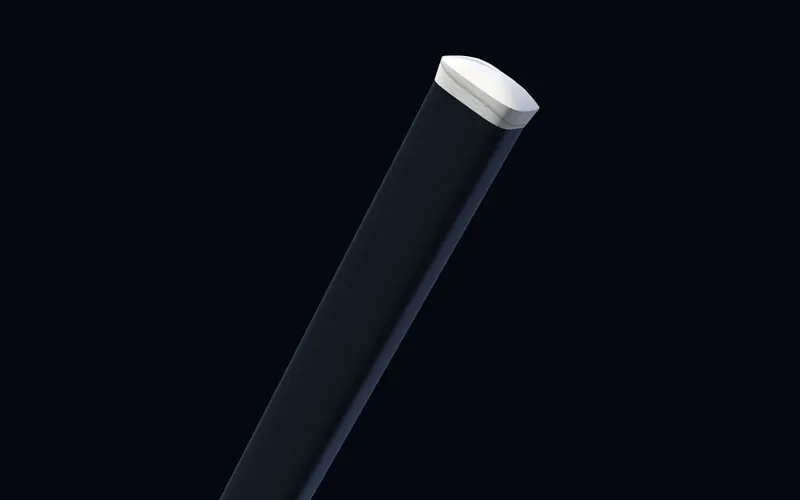
Step 9: Start at the top of the shaft
Turn to the top of the stick. Begin the knob right at the end, with the first wrap hanging slightly over the edge.
-
Knob
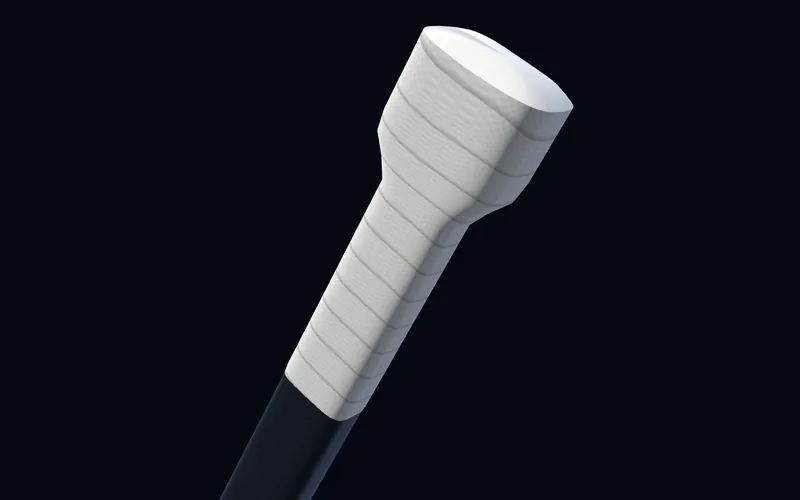
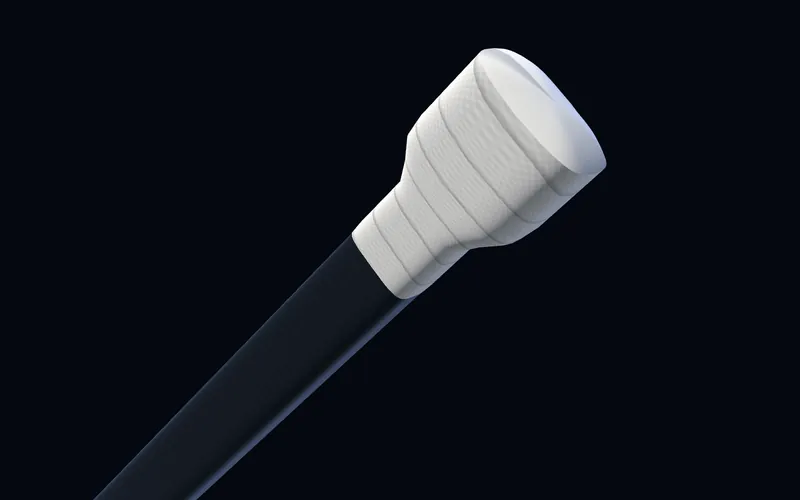
Step 10: Build a big white knob
Wrap over the same spot again and again until the knob is much thicker than the shaft. Goalies go far bigger than skaters, and in the NHL the knob on a goalie stick has to be white tape at least 1.3 cm (half an inch) thick.
Tip: A big knob lets you scoop the stick off the ice with your blocker, and it will not slide out of your glove.
-
Knob
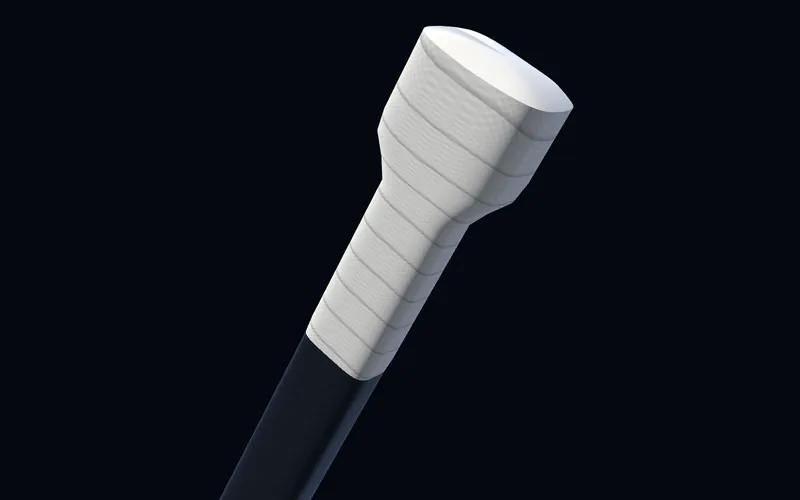
Step 11: Wrap down below the knob
Carry the tape a hand-width down the shaft below the knob, so your hand has grip when you slide it up for a long poke-check.
-
Knob
Step 12: Seal the end and test it
Fold the overhang over the butt end and finish on the underside. Then test it with your gear on: drop the stick, scoop it up with your blocker, and make sure your hand sits against the finger stop.